Hanging Your Art Should Feel Good
Here's how to do it right, from prep to perfect.
See Gallery Grip in action
See full demo and instructions
step-by-step installation
Step 1
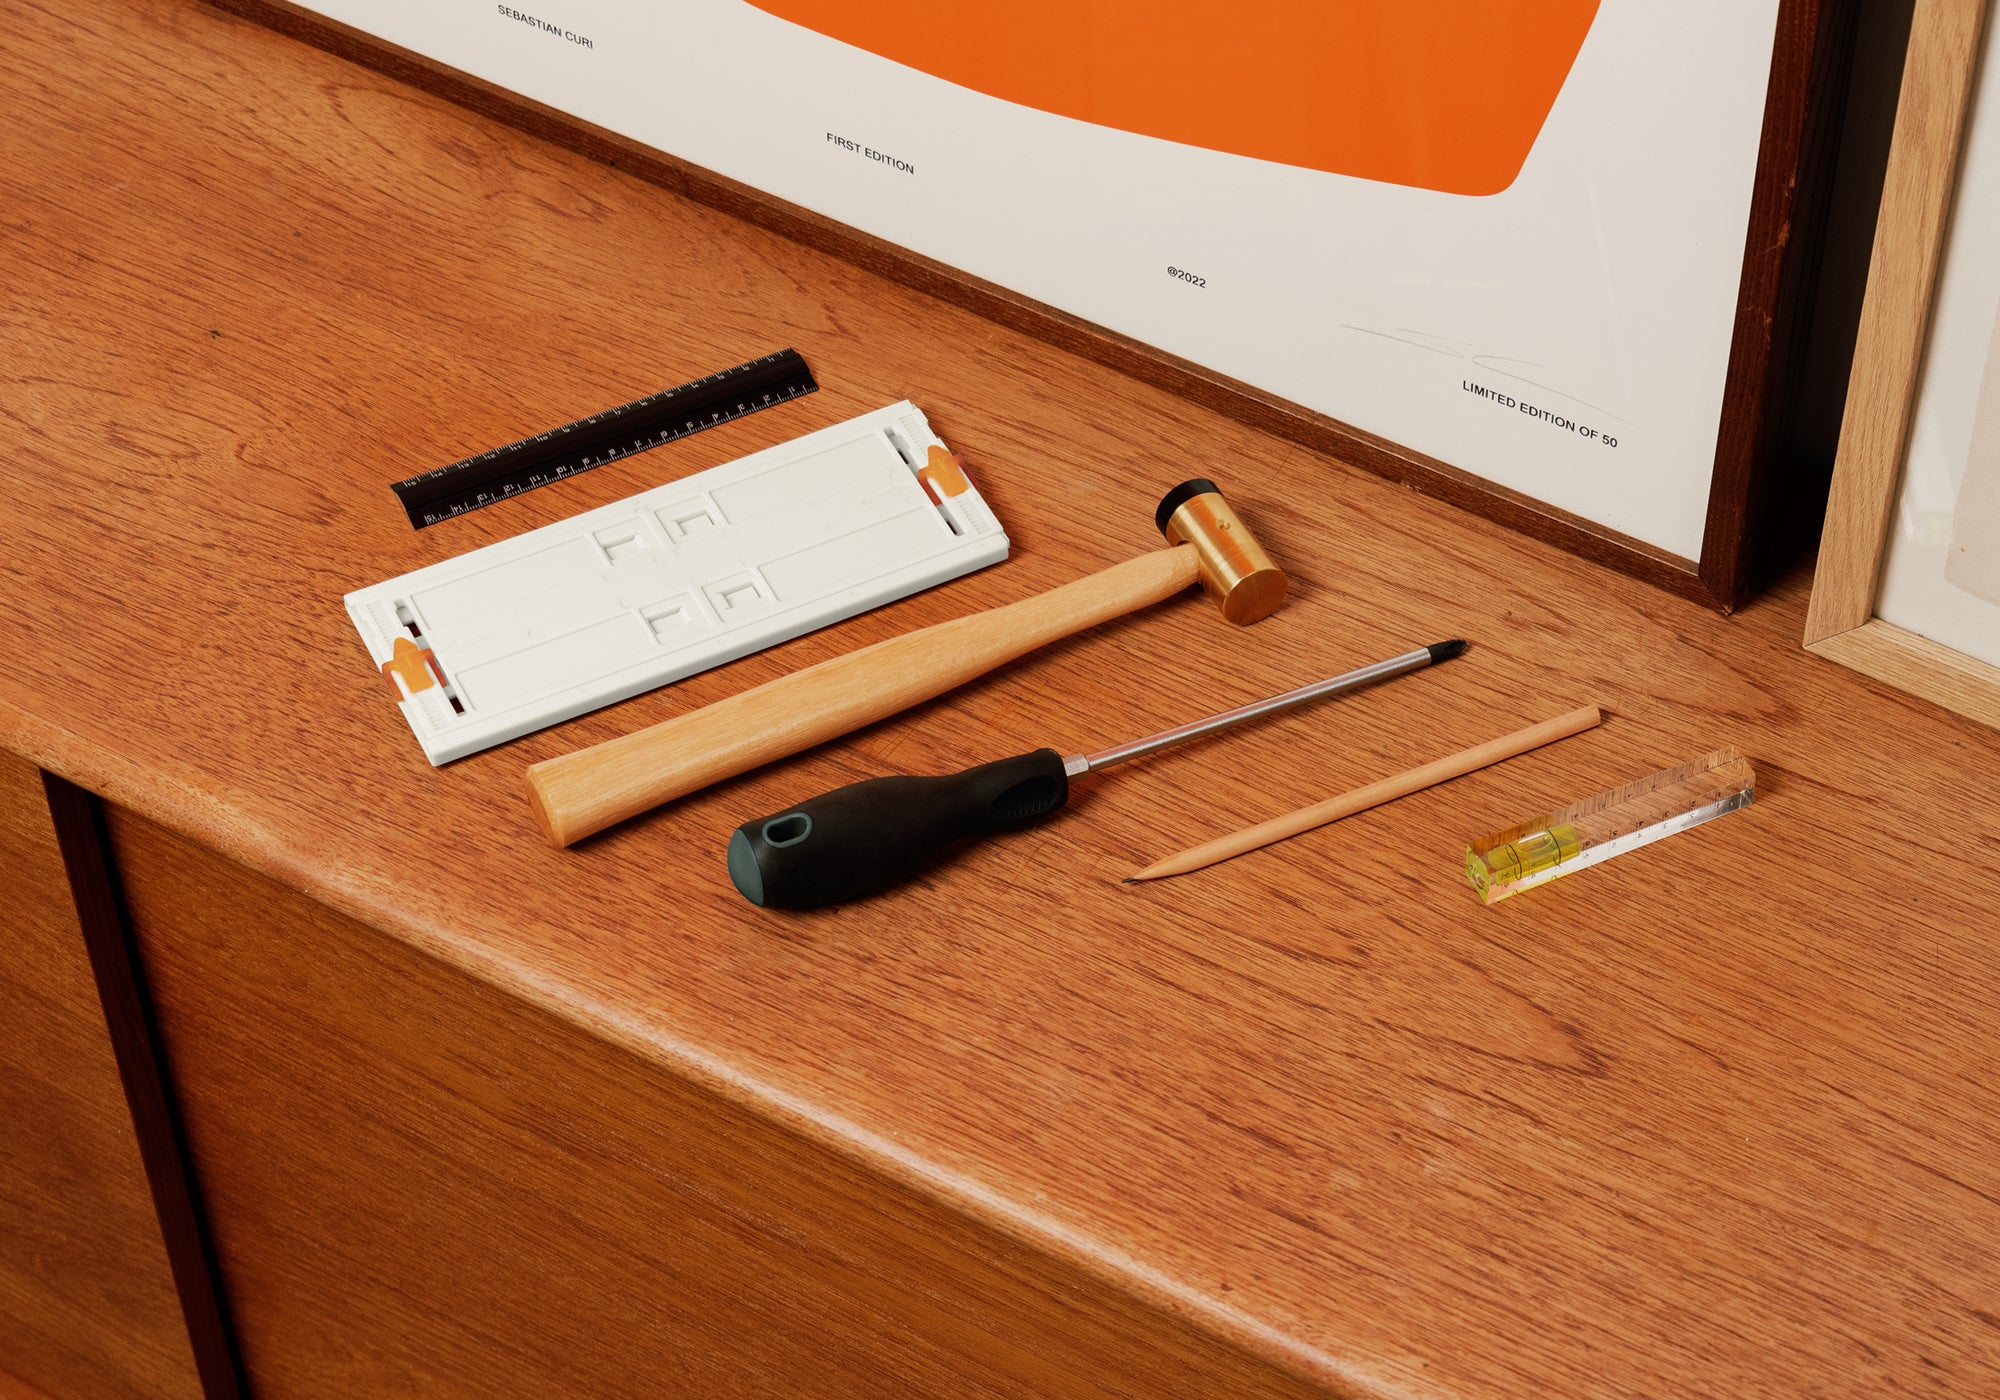
What To Have on Hand
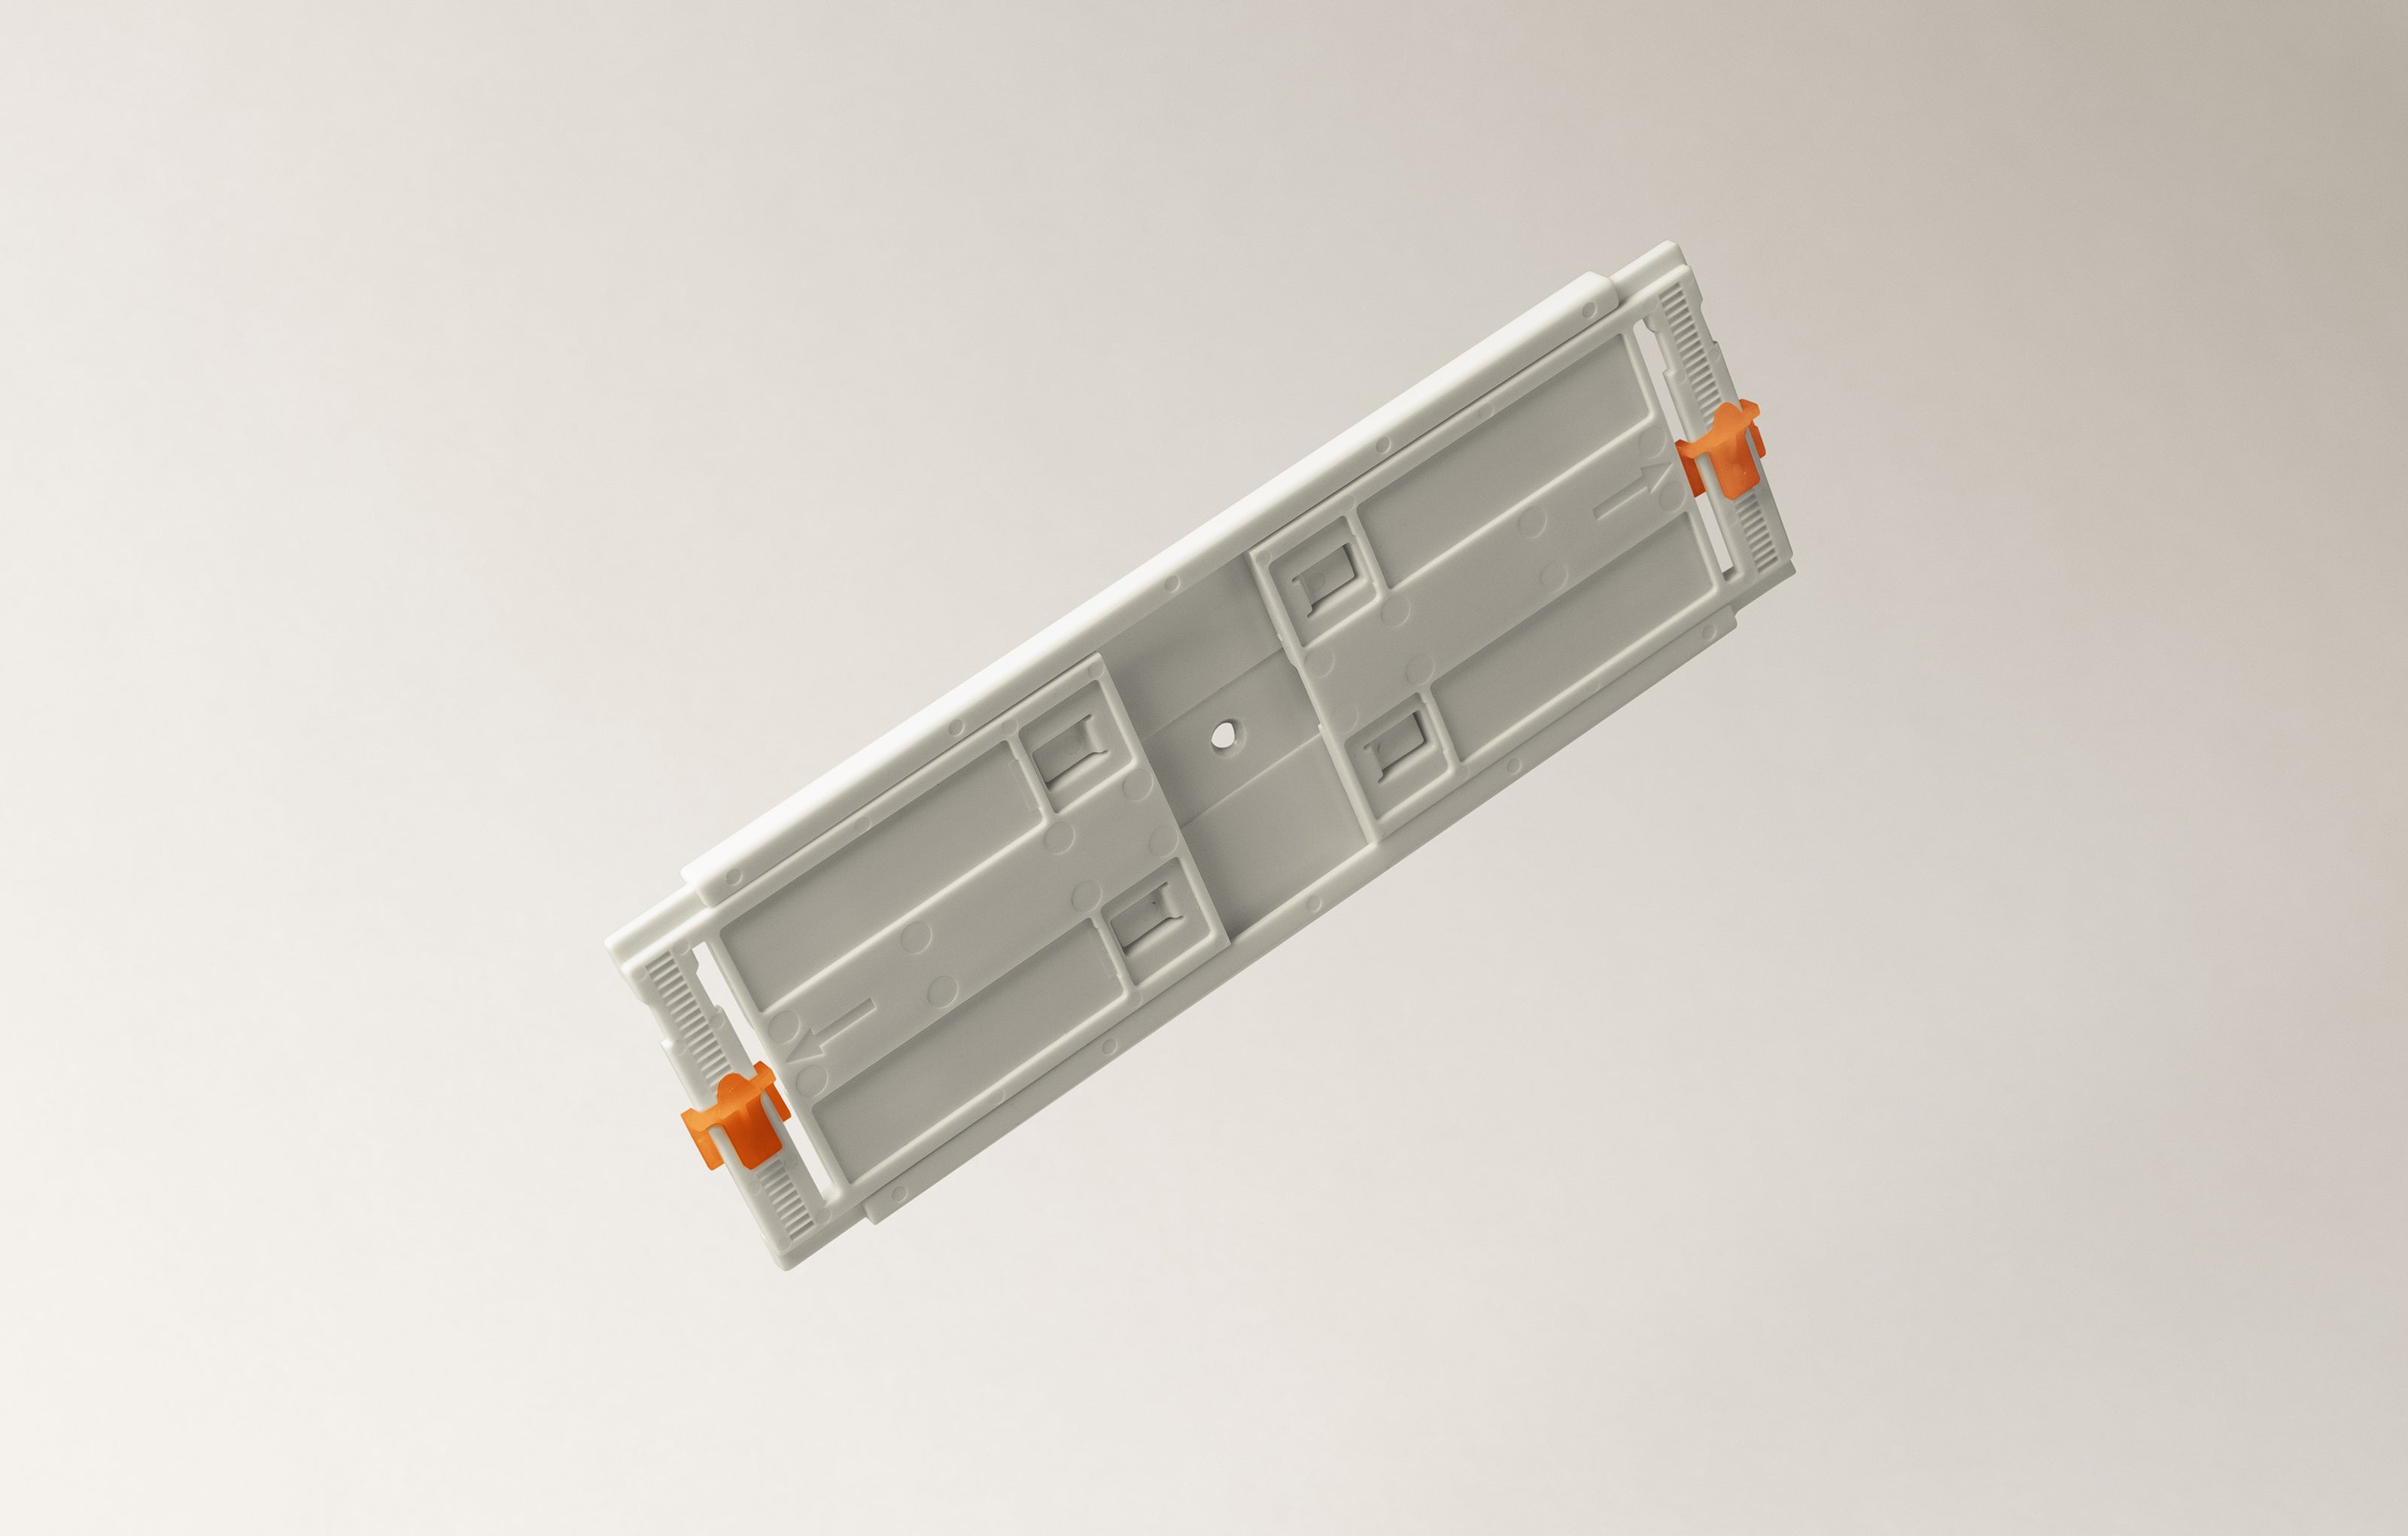
Gallery Grip comes with two wall anchors, two screws, and the Gallery Grip itself. Grab a pencil, a Phillips screwdriver, a hammer, and a level.
Step 2
Pick Your Spot
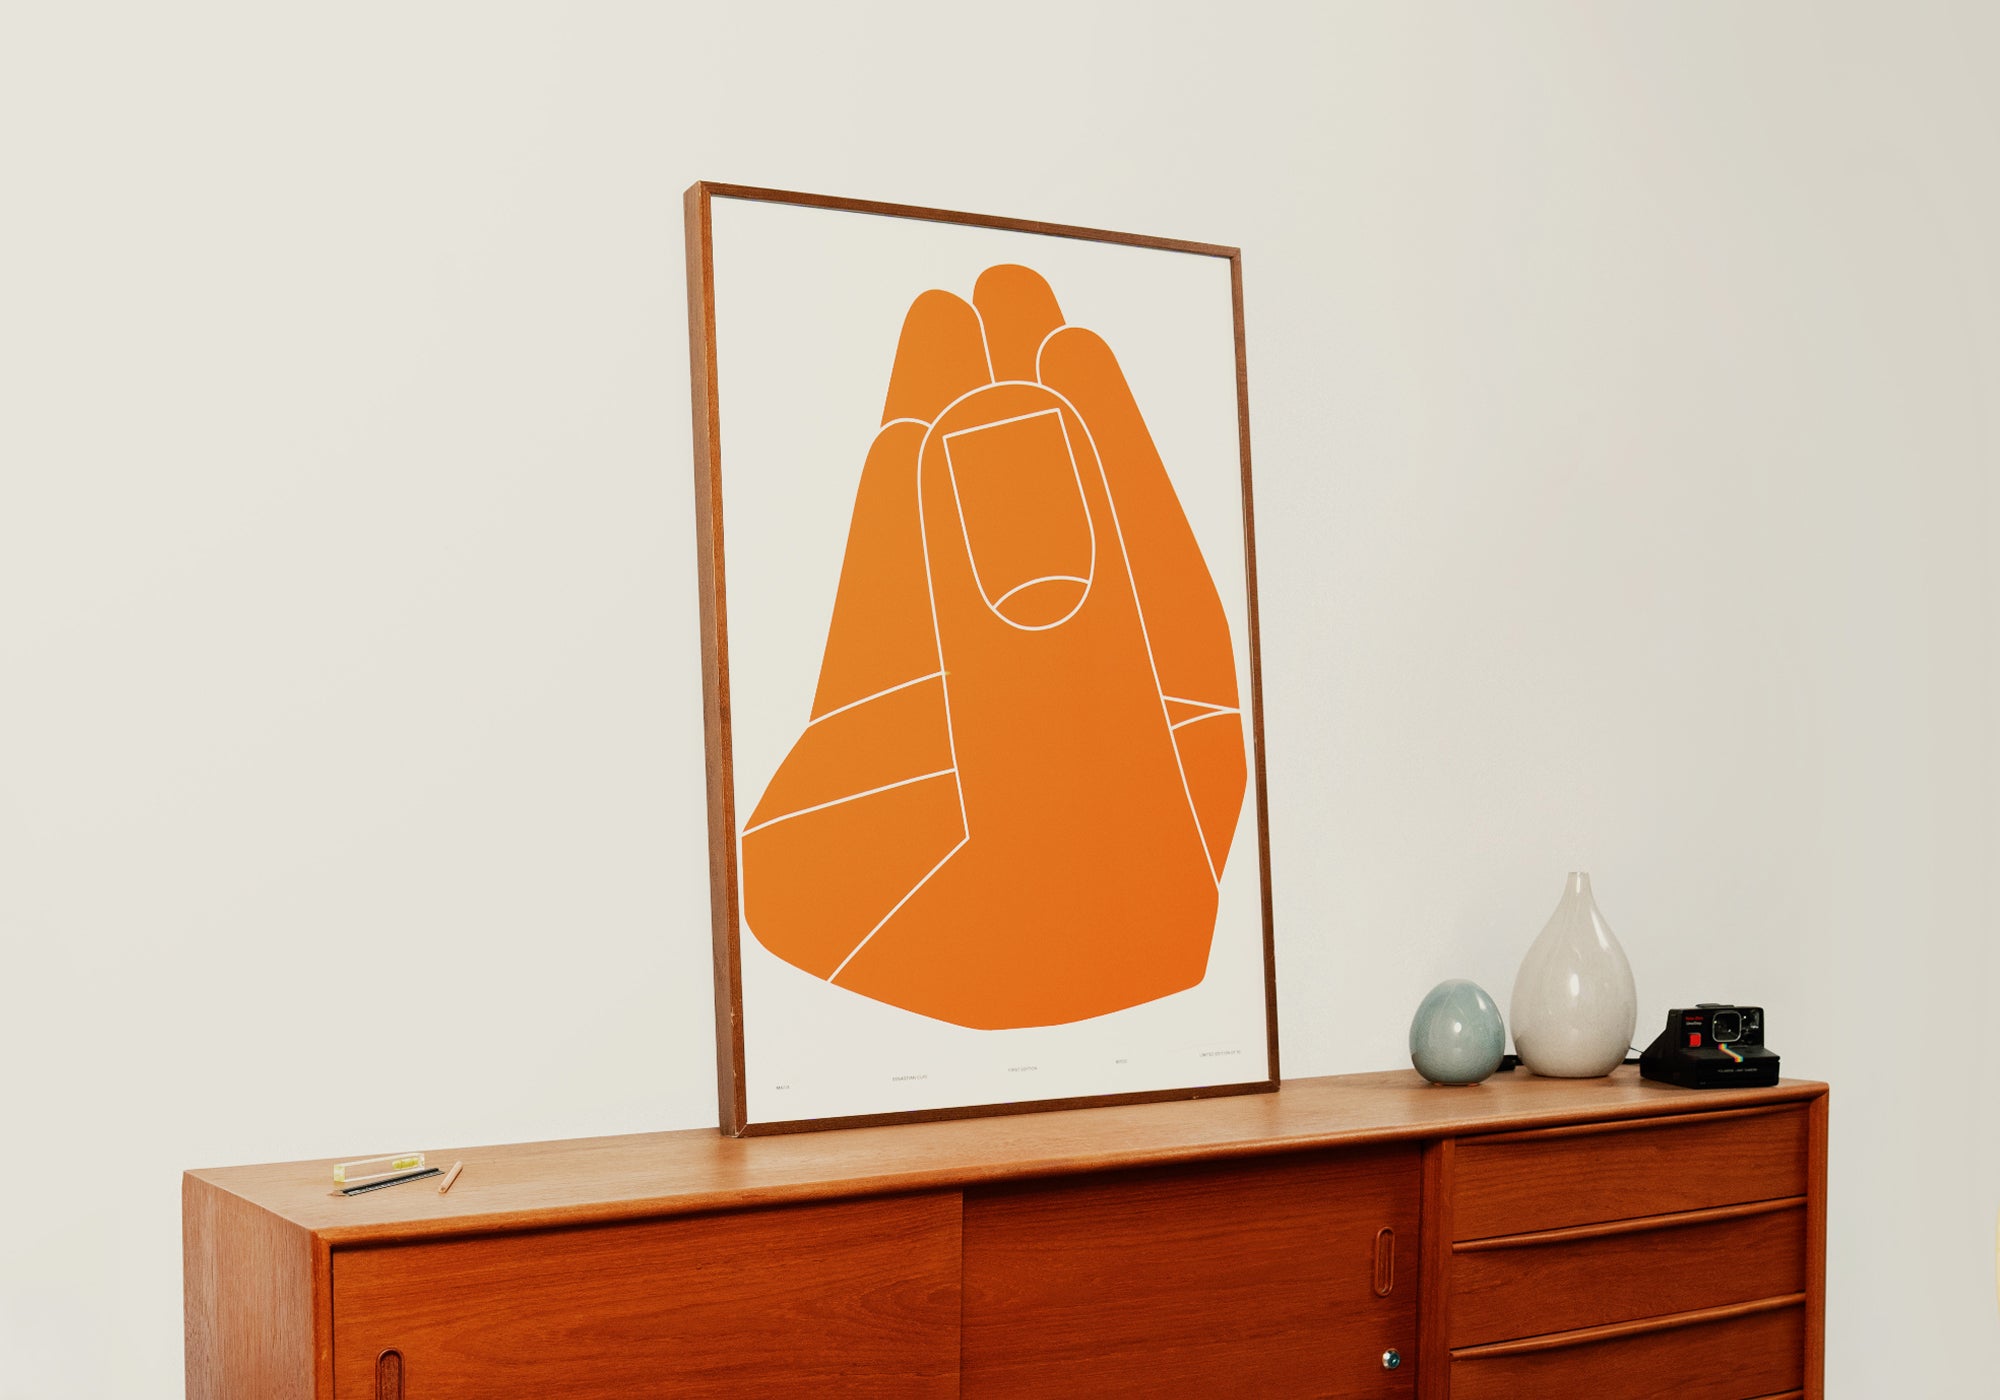
Find the place that feels just right. Mark the centre of the top of the frame on the wall. It doesn’t have to be perfect-perfect. You can always tweak it later.
Step 3
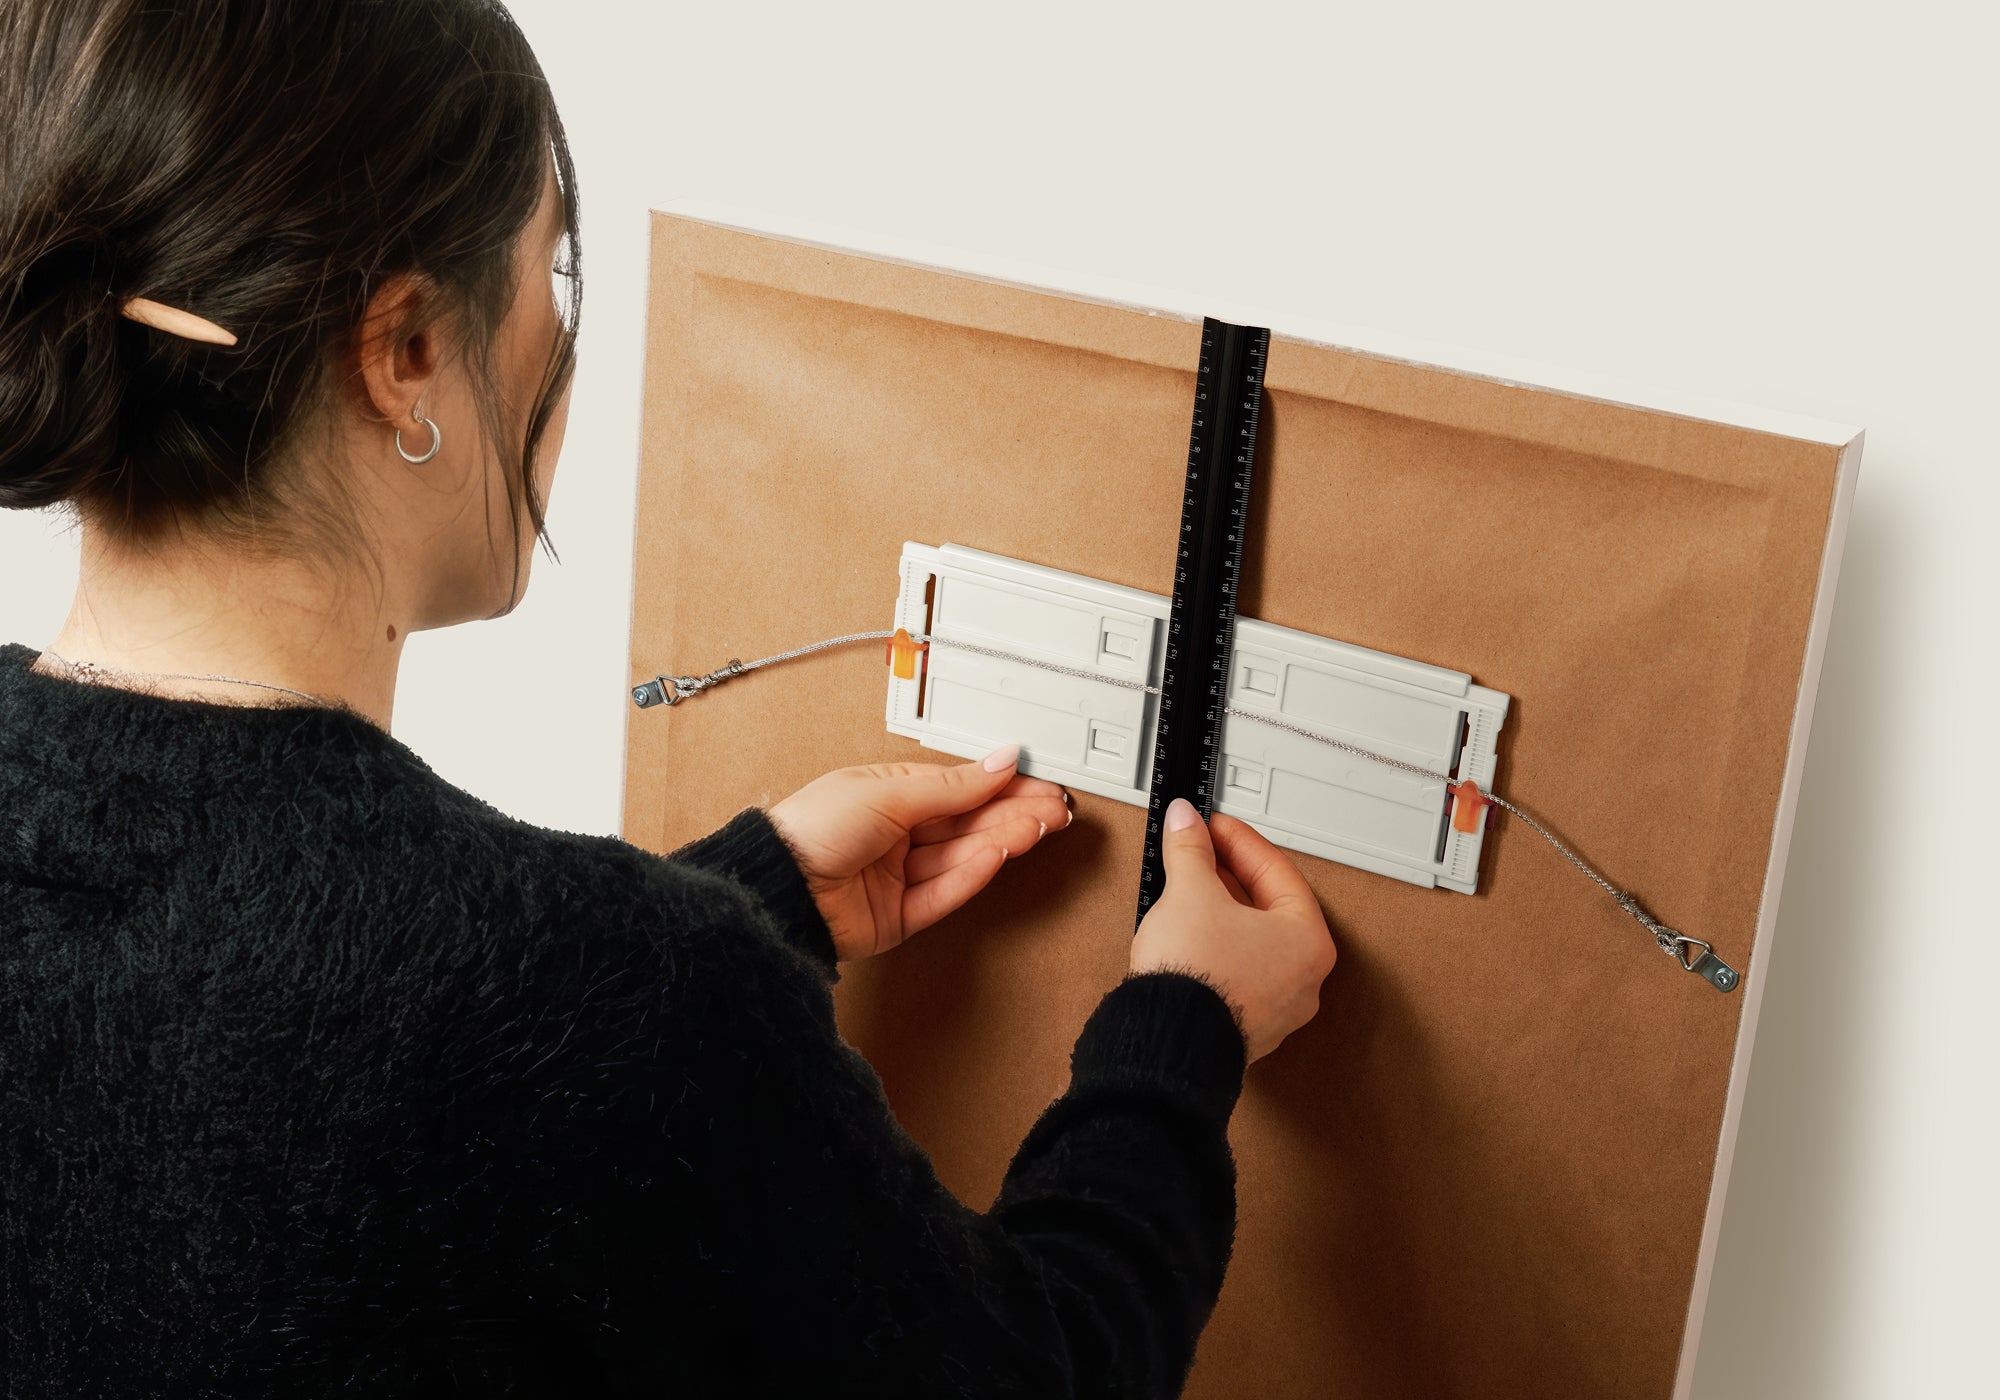
Make Your Hanging Point
Use Gallery Grip to find your exact install point. Hook the wire taut through the grip's centred hooks, then measure the distance from the top of the frame to the grip's centre hole. Transfer that measurement down from your wall mark. That's your drill point.
Step 4
Place Gallery Grip
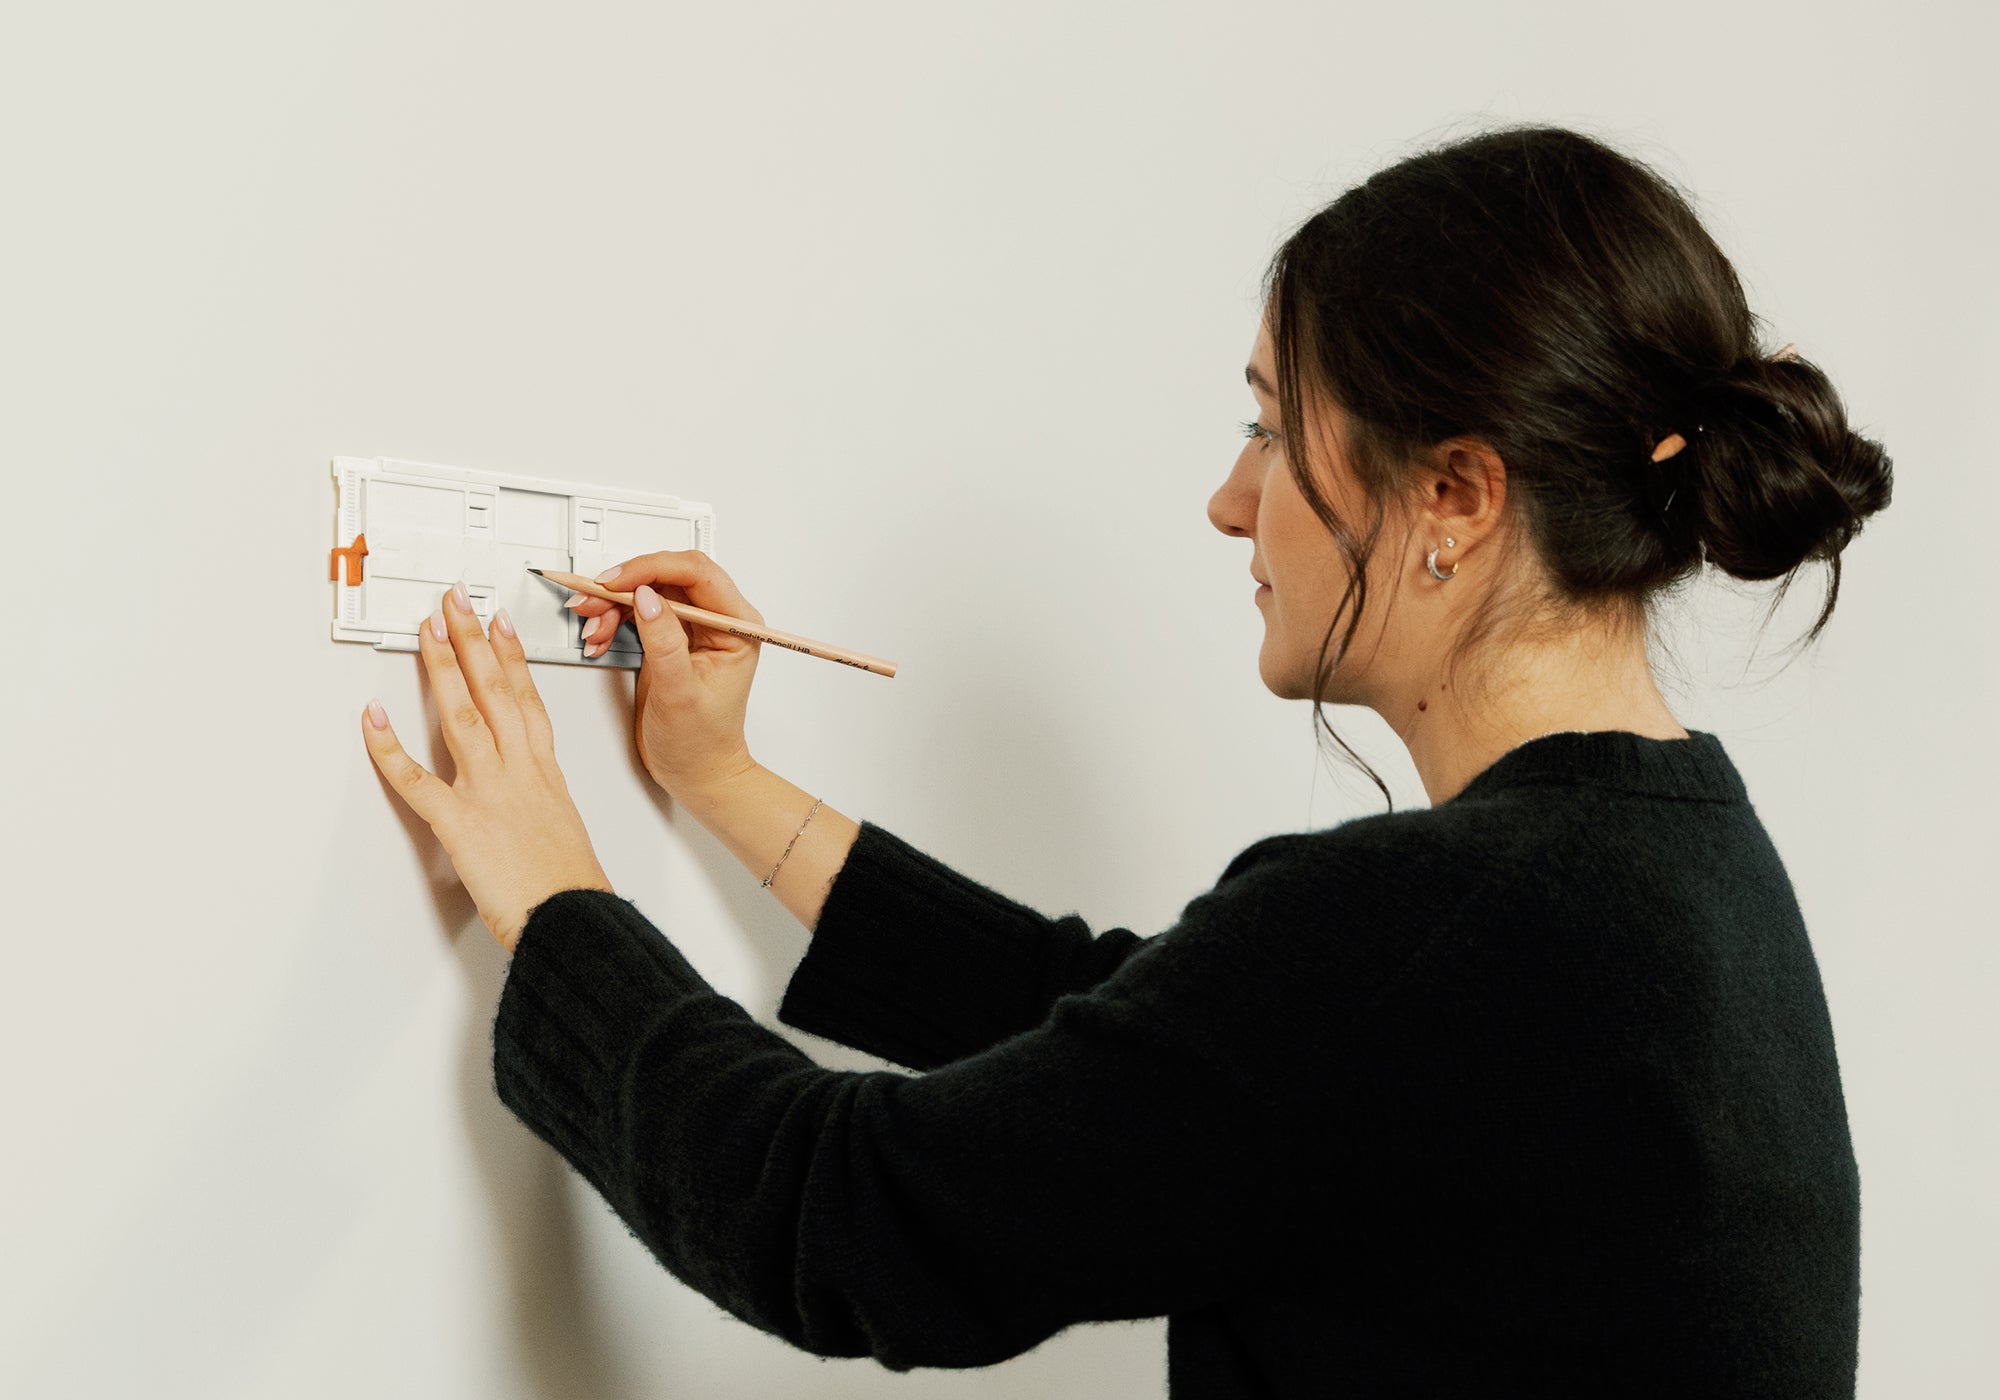
Hold the Gallery Grip against the wall so its centre is on the mark. Using a pencil, mark the screw hole(s) on the wall through the Gallery Grip.
Step 5
Mount Gallery Grip
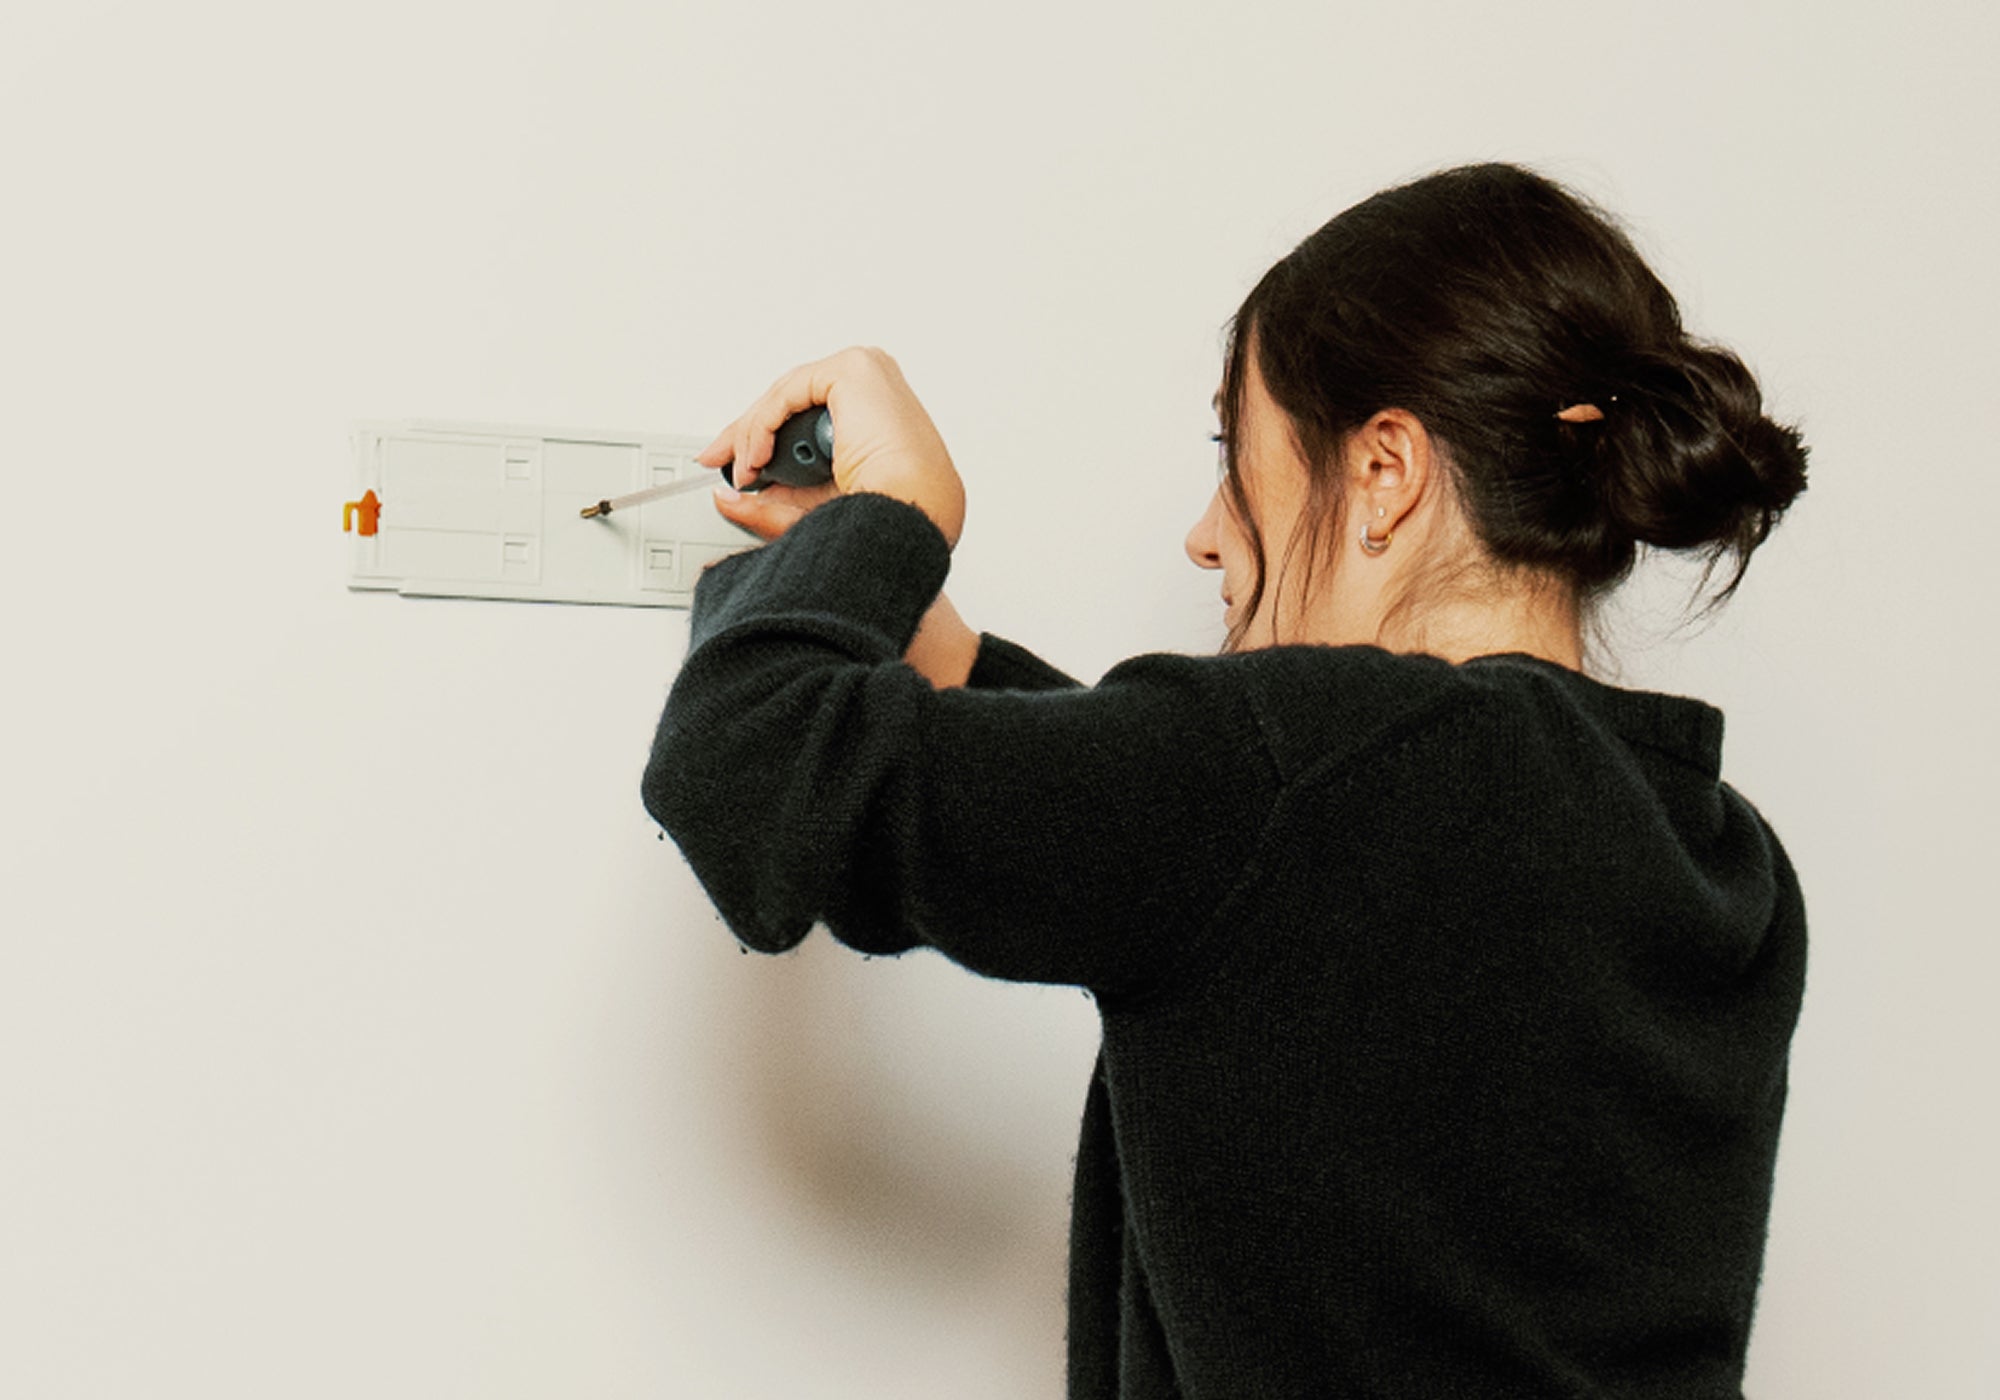
Stud or wood? Screw directly into the wall. Drywall? Use the included wall anchors for a better grip. Six lbs or less? Use one screw/anchor in the centre hole. More than 6 lbs? Use both screws/anchors in the two outside holes.
Step 6
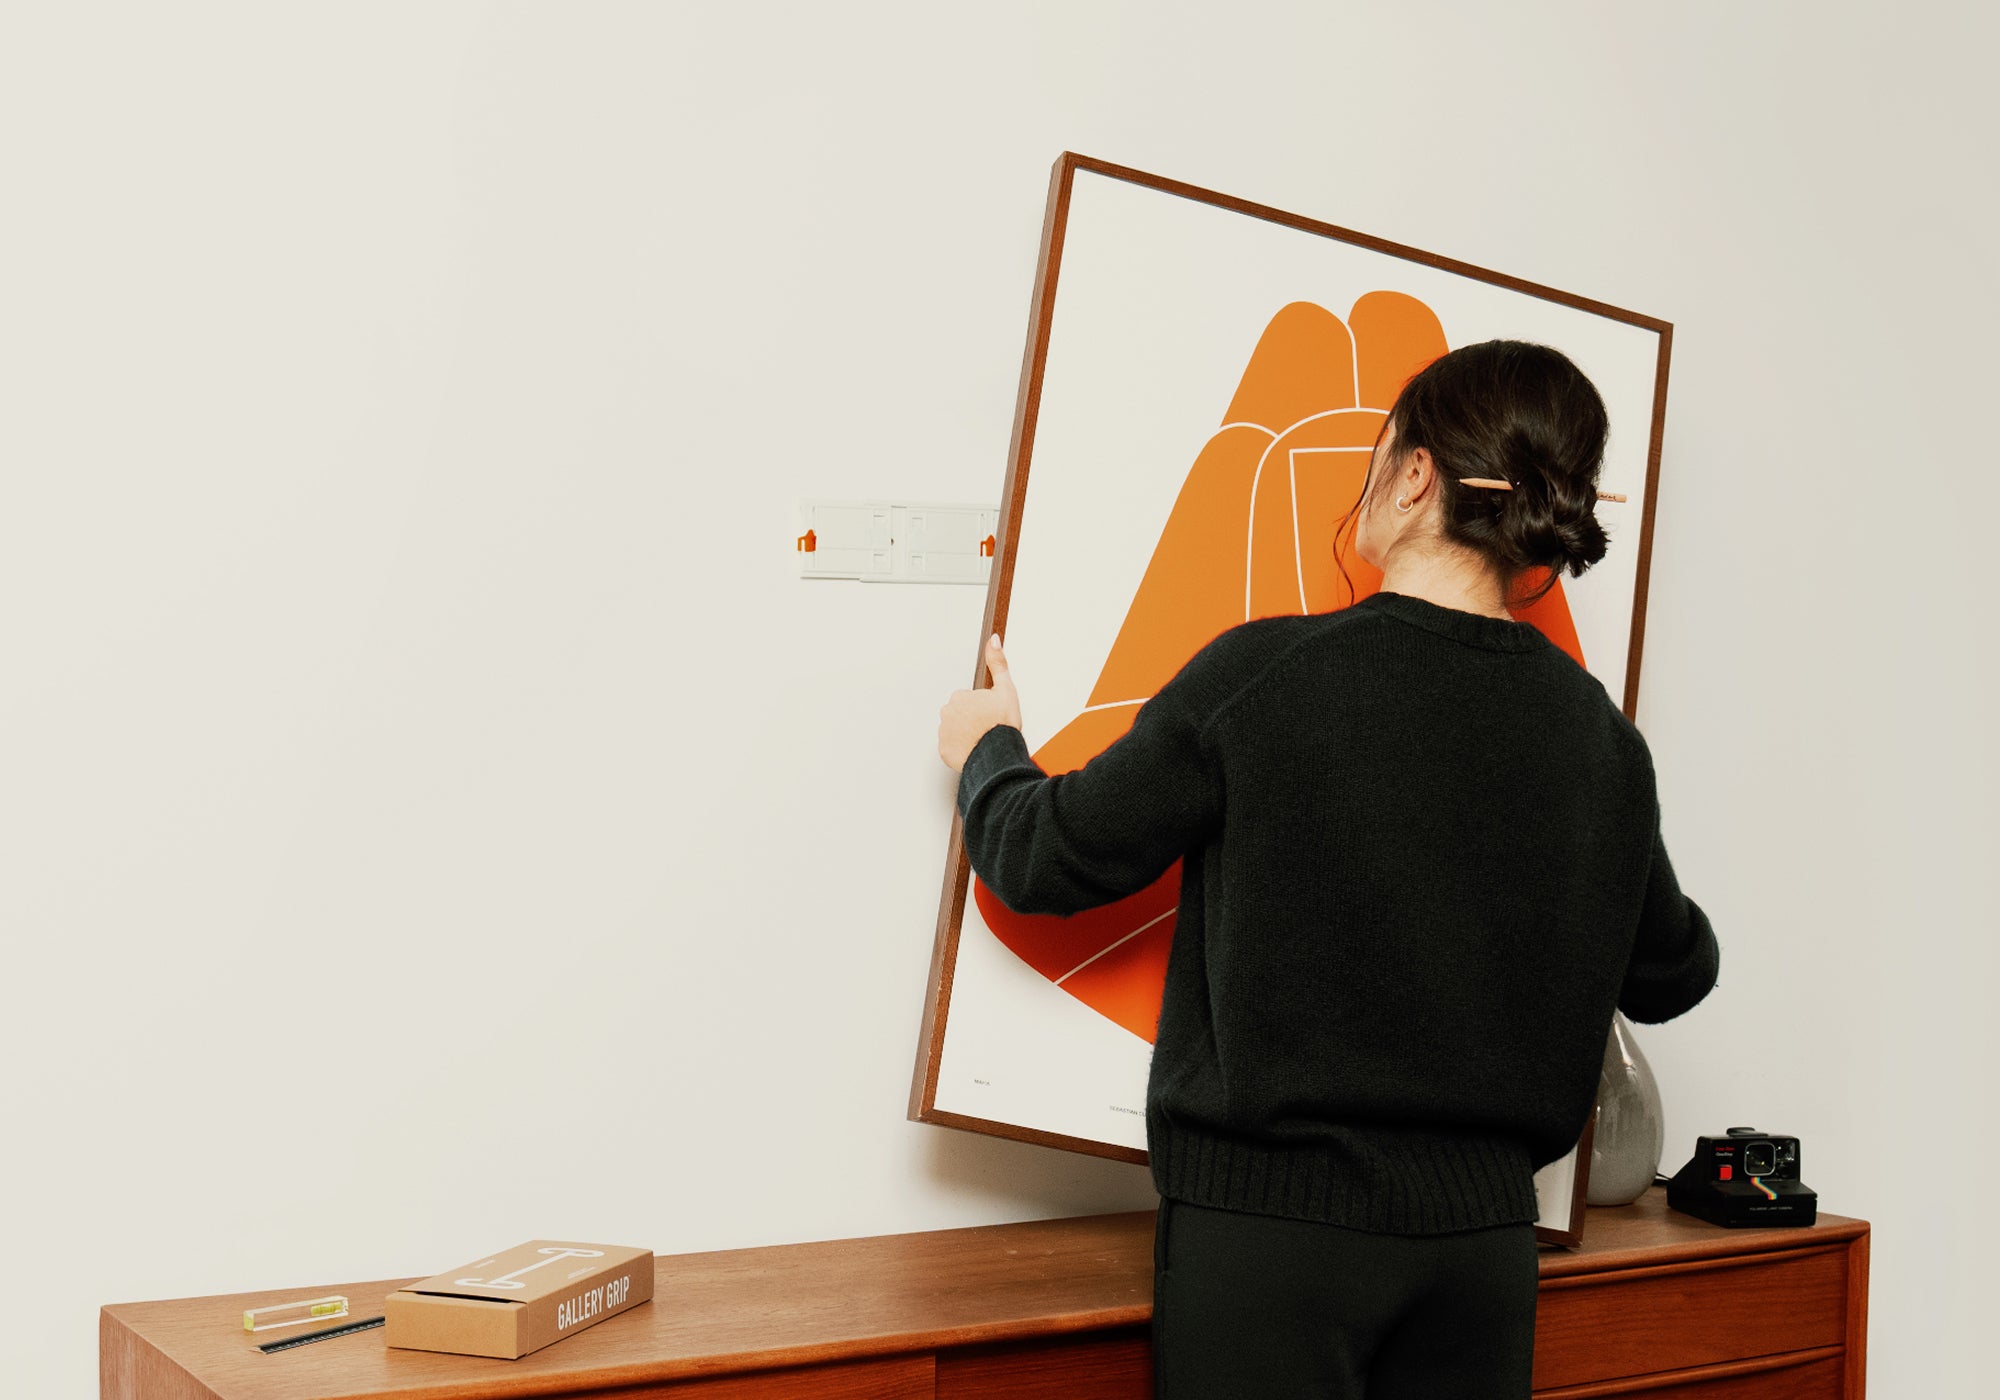
Hang Your Art
Rest the hanging wire onto the hooks. Make sure the frame is secure and balanced.
Step 7
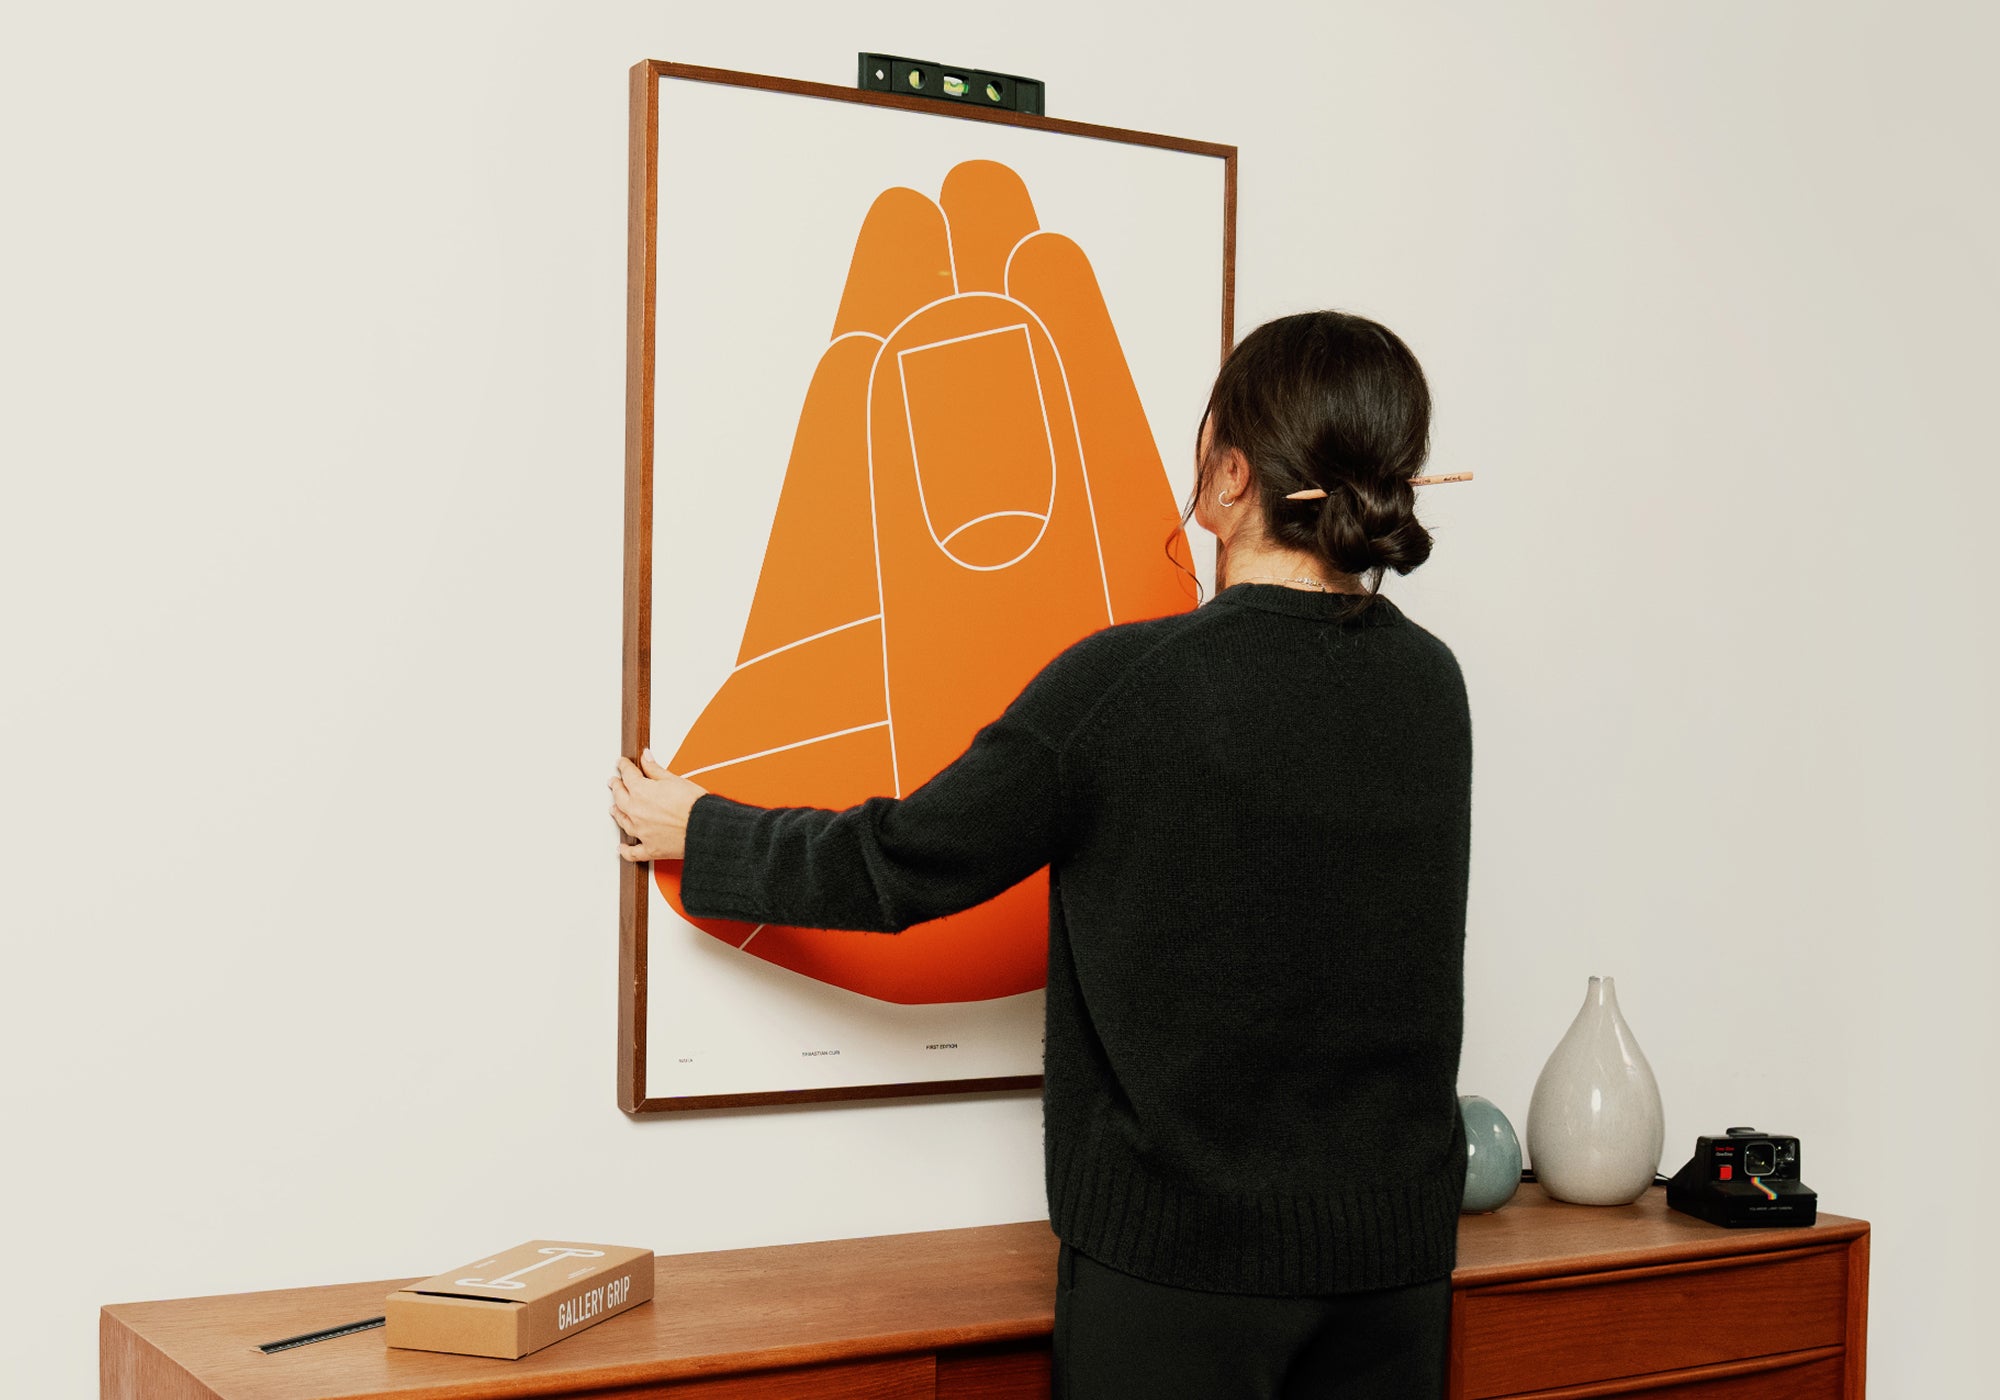
Adjust Like a Pro
Use the hooks to raise, lower, and level your frame. Use the horizontal sliders to shift it left or right. No extra holes. No frustration. Just beautifully placed art.
Still Need Help?
Our support team is here to help you hang with confidence.